arcadetips
SEGA Saturn controller to DB15
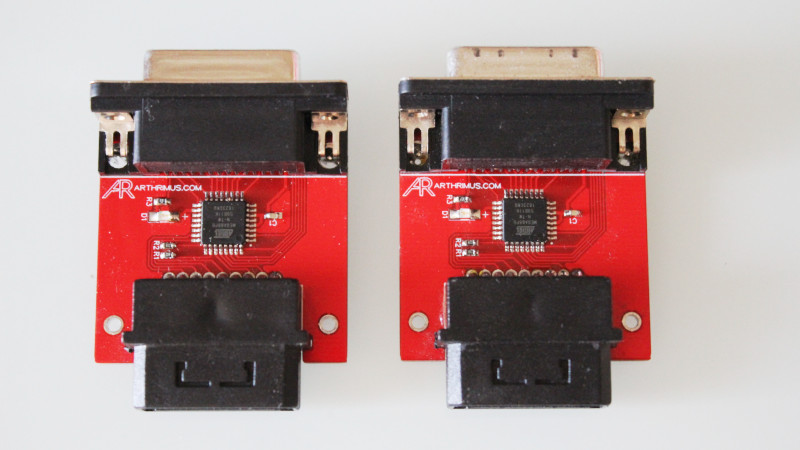
These adapters made by Arthrimus based on an initial design by Frank_fjs are the way to go if you want to connect SEGA Saturn controllers to your supergun or NeoGeo hardware in an appropiate way.
They are packed with features like custom button mapping and programmable autofire for each individual button. Also, it's free software and hardware so you can build your own.
Features
- Open collector for safe usage
- Programmable buttons
- Programmable autofire
- Sources and gerbers available
- Great compatibility with gamepads
- NeoGeo extended Undamned pinout
Code
Components
| Reference | Component |
|---|---|
| U1 | ATMEGA 88/168/328 TQFP32 |
| C1 | 100nF 0603 |
| R1,R2 | 1K 0603 |
| R3 | 330R 0603 |
| D1 | XZCBD60W |
| DB15-F | A-DF 15 A/KG-T2S |
| SATURN | Female connector socket |
For the Saturn controllers socket I used the HISPEEDIDO brand in 2020 and the connectors fitted perfectly:
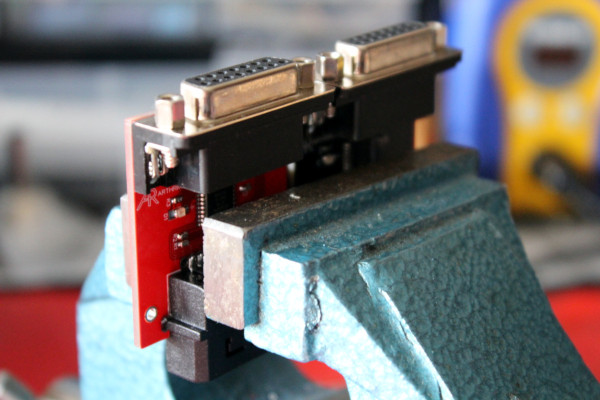
Instead of using the PCB cover they can be attached to the adapter PCB using a good glue like Araldite.
How to program the microcontroller
First, unless you use the compiled code provided by Arthrimus for Atmega88, you need to compile the code using the Arduino IDE with the Minicore module and the digitalWriteFast library installed. Select your Atmega chip and 8MHz internal clock.
Once compiled, in order to program the Atmega you'll need a programmer like the USBAsp. When I tried to program from the Arduino I got this:
avrdude: warning: cannot set sck period. please check for usbasp firmware update.
So I used avrdude instead:
avrdude -c usbasp -p m328p -e -U flash:w:compiled.hex -U lfuse:w:0xe2:m
0xE2 value is obtained using a fuse calculator for the specific chip, selecting the following options for 8MHz internal clock:
CKSEL0 - PROGRAMMED(0)
CKSEL1 - UN-PROGRAMMED(1)
CKSEL2 - PROGRAMMED(0)
CKSEL3 - PROGRAMMED(0)
SUT0 - PROGRAMMED(0)
SUT1 - UN-PROGRAMMED(1)
CKOUT - UN-PROGRAMMED(1)
CKDIV8 - UN-PROGRAMMED(1)
How to use
Once the microcontroller is programmed and the adapter fully assembled the front buttons will not work. This is normal because they have not been mapped yet.
How to map the buttons
- Keep pressed
START + A + Bduring 3 seconds, then the LED light will turn on. - Press
Aonce (button 1),Btwice (button 2),Cthree times (button 3), and so on. - Once all buttons have been programmed, press
STARTto exit programming mode.
How to configure autofire
- Keep pressed
START + Aduring 3 seconds, then the LED light will turn on. - Press each button according to the autofire speed you want according to the documentation.
- Once all buttons that you want to have autofire are programmed, exit pressing
START.
Pinout
| Pin | Función |
|---|---|
| 1 | GND |
| 2 | Button 6 |
| 3 | Coin |
| 4 | Button 4 |
| 5 | Button 2 |
| 6 | Right |
| 7 | Down |
| 8 | +5V |
| 9 | - |
| 10 | Button 5 |
| 11 | Start |
| 12 | Button 3 |
| 13 | Button 1 |
| 14 | Left |
| 15 | Up |